Kilimanjaro Packing List: Layering and Equipment Checklist
A sensible packing list prepares you for warm forest walking, wet weather, freezing upper camps and a long summit night without filling the duffel with unnecessary duplicates.
Pack by function, not by photo
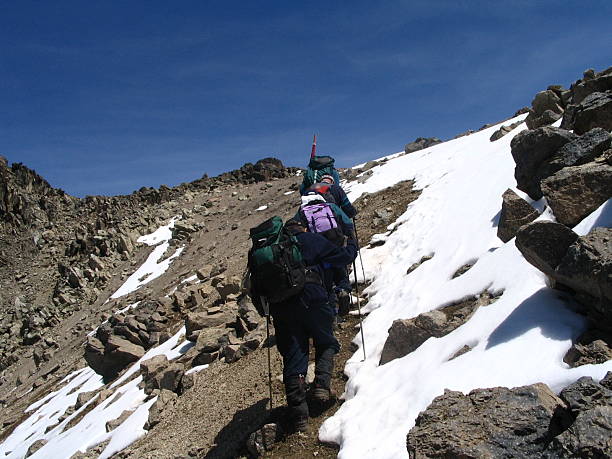
The practical approach is to build outfits around temperature changes: a breathable base layer, an insulating mid-layer and a windproof or waterproof outer shell. Clothes needed near the summit are very different from those that feel comfortable under the rainforest canopy. Gloves, a warm hat and dry socks are worth checking twice. Many trekkers discover too late that heavy cotton takes a long time to dry or that a jacket does not fit over their other layers.
The details that change your experience
Clothing layers that work together
Pack moisture-wicking base layers, a warm midlayer, an insulated jacket and a waterproof shell. Cotton is slow to dry. Bring a separate dry set of clothes for camp and check how many cold-weather layers can be combined.
Footwear and daily comfort
Wear broken-in hiking boots with reliable grip. Use familiar socks and carry blister protection. Trekking poles can reduce strain on long descents; a headlamp with spare batteries is essential for summit night.
Sleeping and carrying systems
Confirm whether a suitable sleeping bag and sleeping mat are provided. Most routes involve a crew-carried duffel and a personal daypack; keep rain protection, water, snacks and medications in the daypack.
Hydration and small essentials
Carry adequate drinking capacity according to the guide’s plan. Include sun protection, hand hygiene, a small personal first-aid kit and a protective pouch for documents. Keep electronics insulated from cold.
Make the plan work in practice
Separate your daily items from your main duffel. The daypack normally holds water, waterproofs, sunscreen, snacks approved by your guide, and personal essentials; overnight items travel with the support crew under the operator's baggage rules. Try your boots and pack before departure, and check whether the chosen rental shop can supply your size. A gear list should distinguish genuinely required mountain equipment from optional comfort extras.
Before leaving the hotel
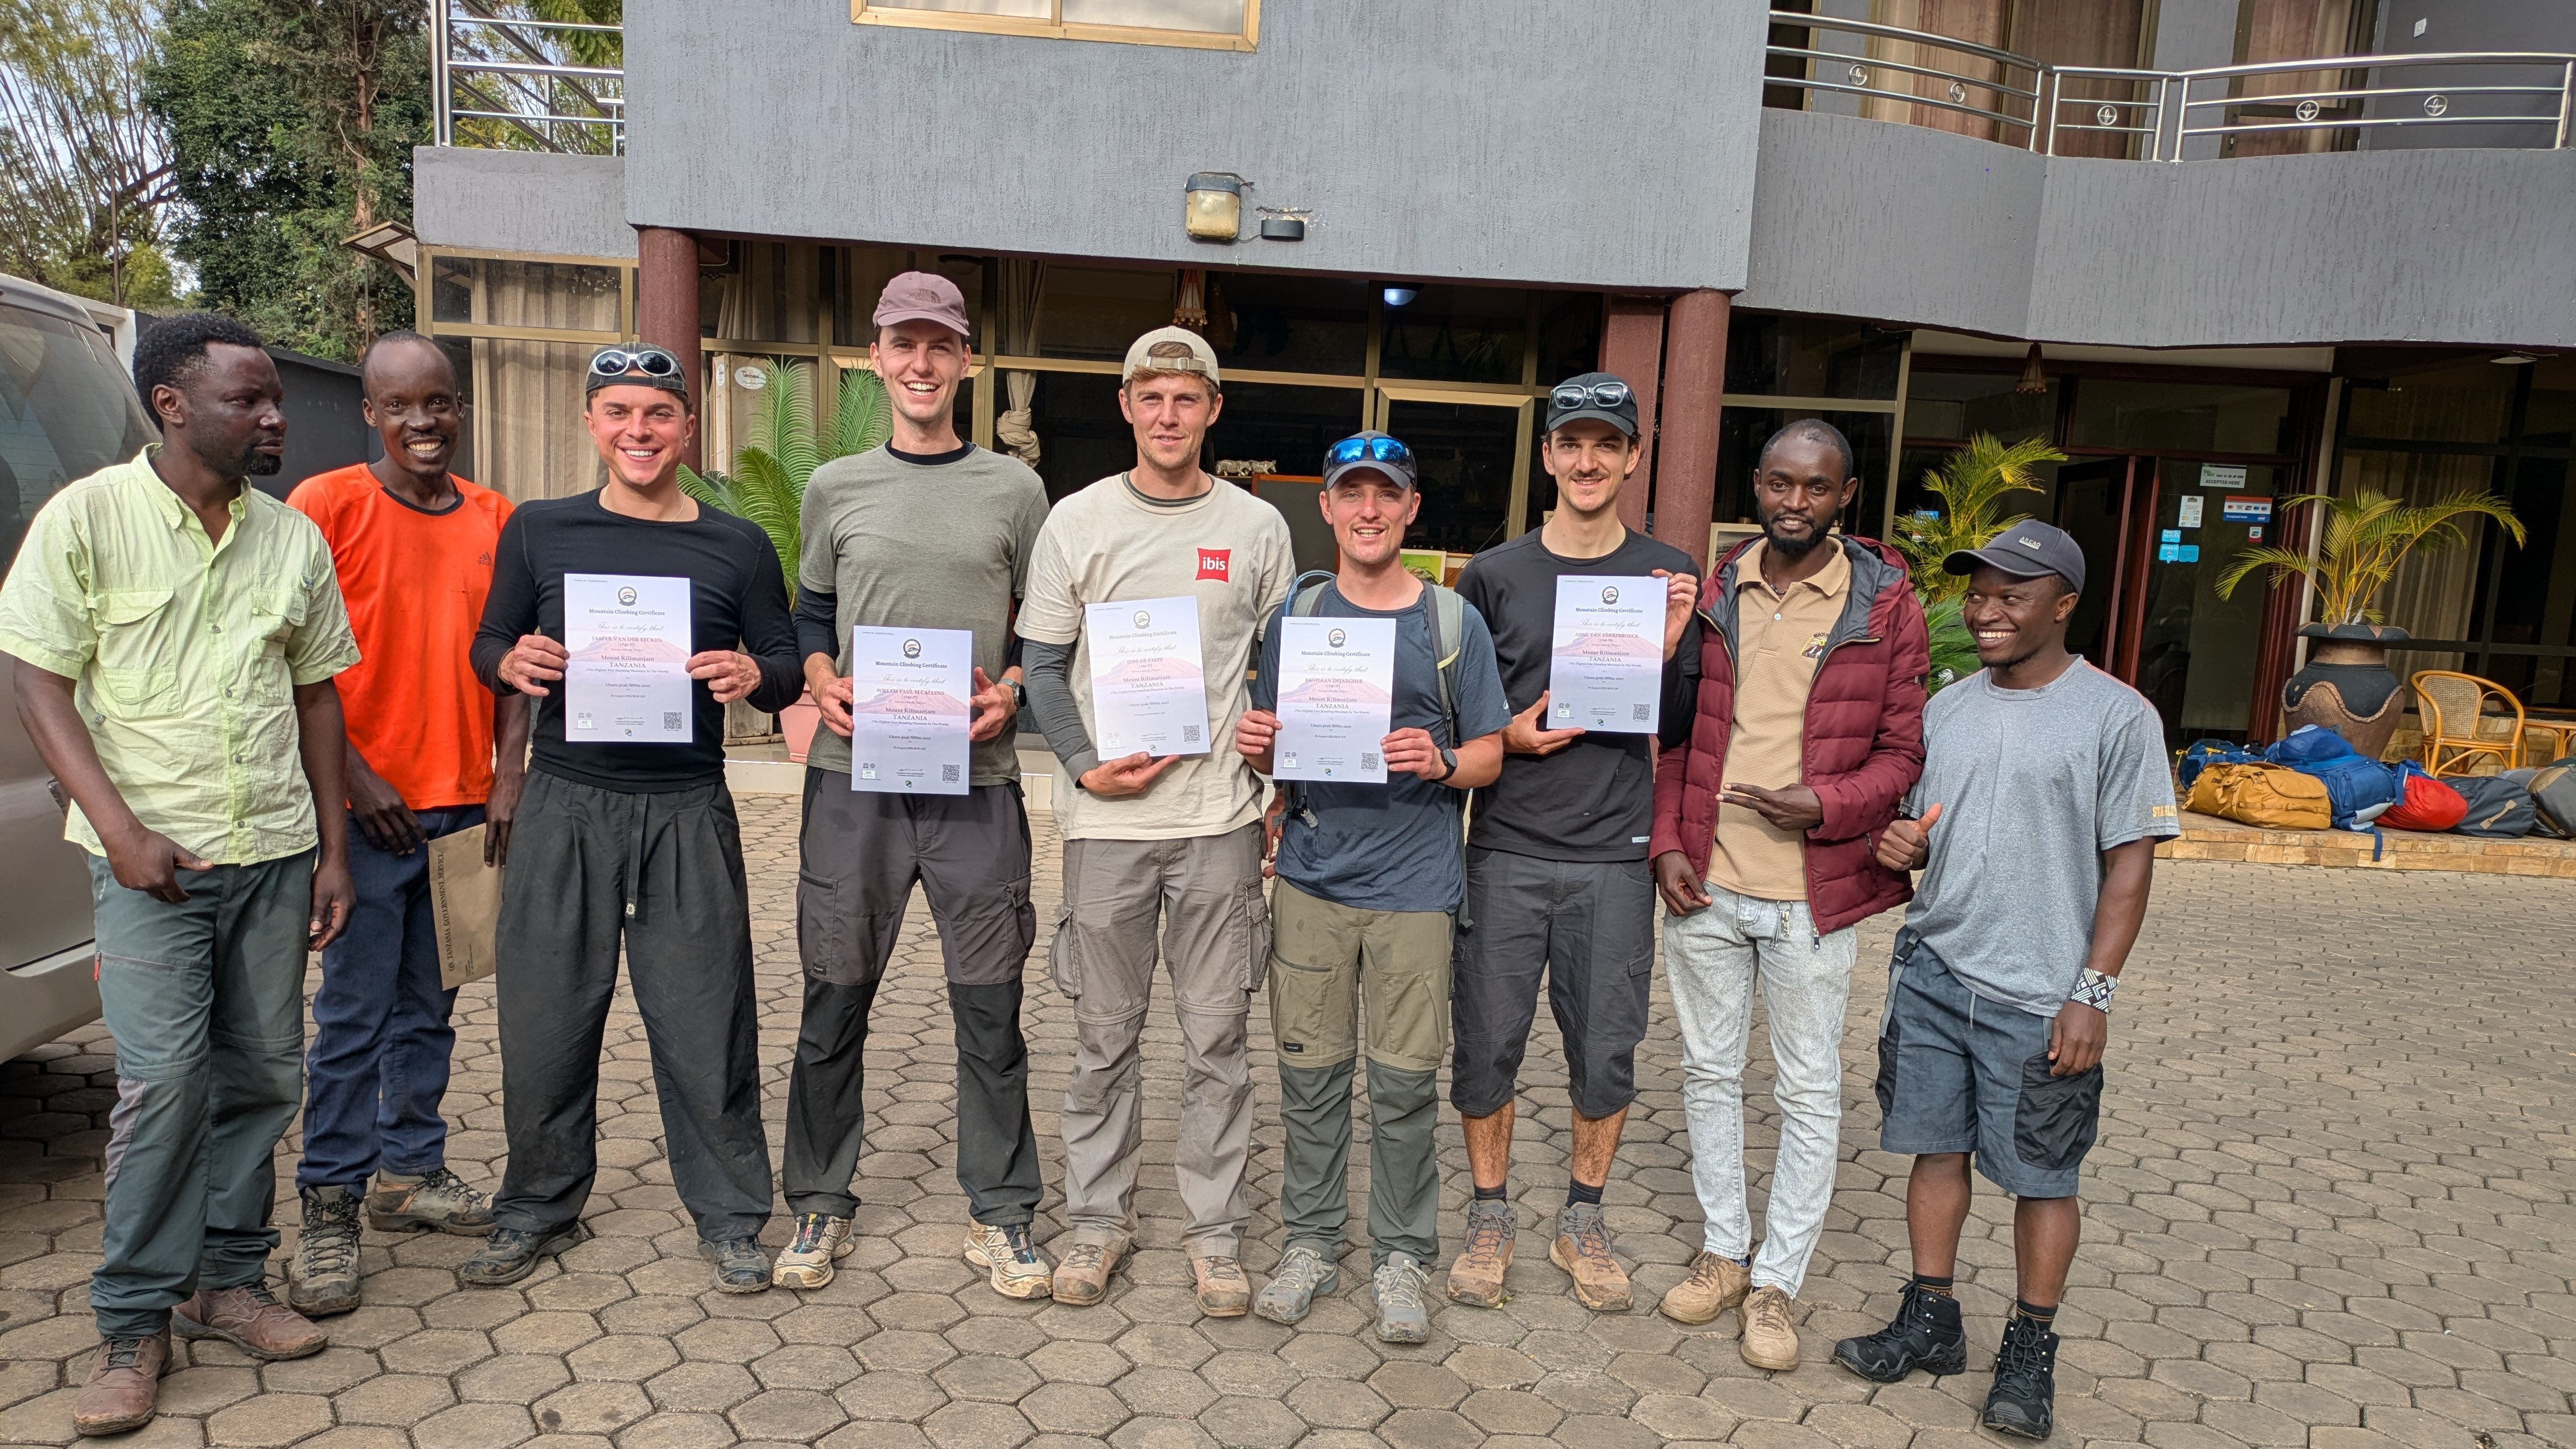
Lay out your headlamp, rain layer, warm hat, essential medication and water bottle where you can reach them without opening the large duffel. Make sure the bag transfer weight meets the operator's porter policy and that valuables you will not use are stored securely at your hotel or another agreed location. A final equipment check is most useful the afternoon before the trek, giving time to hire missing items rather than discovering the problem at the park gate.
A practical example for travelers
Renting a sleeping bag or warm jacket locally can be convenient, but the fit and condition must be checked before the departure vehicle leaves. If the operator supplies a mattress, ask what type is used, and make sure the sleeping system matches the expected mountain temperatures. For a group trip, individual storage needs also matter: a main duffel should be clearly identifiable and protected from rain. Do not assume that every trekking accessory shown in a website gallery is part of the actual hire package. The written inclusions and a dedicated equipment check are more reliable than photographs.
A useful question for your travel planner
Test the fully packed daypack on several training walks and separate items by mountain day versus hotel travel.
A frequently asked question
Do I need to buy all equipment?
Not necessarily. Some items can be hired locally, but test fit and condition before starting.